This article explains how you can set or change the order that sample points appear in various tables, water quality reports, etc. First, you must be an approved member of Datashed as well as a member of the specific project that you wish to edit (see the Joining a Project page for details on becoming a project member).
Method 1: Easy Drag & Drop Method
1. Log in
2. Find and select the Project or Stream, that you wish to edit sample point order. See instructions on the Finding Projects page.
3. Click on the "Sample Points" link/tab and then select click "Update Flow Order" from the drop down menu.
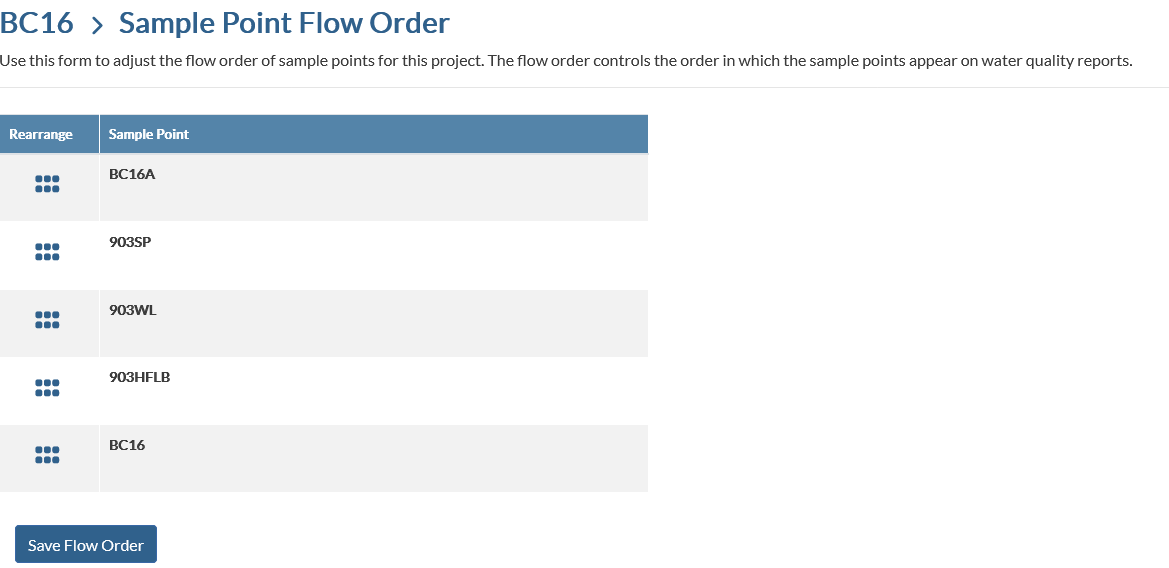
4. A new window will appear showing the current list of sample points. The sample points are shown in the same order that they will be displayed in tables, reports, etc. The order can then be changed simply by rearranging them. To rearrange, click on the sample point to grab, then drag to the desired location, and drop into place.
5. Once you are finished, click on the "Save Flow Order" button at the bottom of the form.
Method 2: The Hard Way. The Old Way. Hey, maybe you like to do things the hard way.
1. Log in
2. Find and select the Project or Stream, that you wish to edit sample point order.
3. Click on the "Sample Points" link and click "View Sample Points".
4. A new window will appear showing the current list of sample points. The sample points are listed in the same order that they will be displayed in tables, reports, etc. The order can be changed by editing each sample point individually.
5. Click on the edit link of the specific project you wish to edit. A sample point form for that project will appear. Scroll down to find the "Flow Order" Field.
6. Change the Flow Order field to indicate the order in numeric order. First sample point to be 0, then 1,2,3, etc.
7. Once you are finished, click on the "Save" button at the bottom of the form.
8. Repeat for each sample point.